
Feeling anxious about a lost device or needing to share a location immediately? Learning how to use an apple find my app screenshot iphone feature is a crucial first step in documentation and recovery. Whether you are tracking a lost iPhone, keeping tabs on a family member, or checking an AirTag, having a static record of that location is vital.
At findmyiphone.onl, we understand the panic that sets in when a device goes missing. This guide provides 5 simple, stress-free ways to capture any screen within the Find My app. We will walk you through each method with clear, visual-first instructions so you can feel in control and secure your data.
The Easiest Way: How to Screenshot Find My App with iPhone Buttons
The quickest way to capture the screen is by using the physical button combination specific to your iPhone model, which instantly saves the image to your Photos app.
For most users, this is the “muscle memory” method. It is reliable, works offline, and requires no setup. However, the combination differs depending on whether your device has a Home Button.
For iPhones with Face ID (iPhone X and newer)
If your iPhone has a notch or a Dynamic Island at the top and no round button at the bottom, follow these steps:
- Open the Find My app and navigate to the map view you want to capture.
- Locate the Side Button (on the right side) and the Volume Up button (on the left side).
- Press and release both buttons simultaneously.
- You will hear a camera shutter sound (if silent mode is off) and see a white flash on the screen.
- A thumbnail will appear in the bottom-left corner; tap it to edit or swipe left to save it immediately.
This is the standard iPhone screen capture method used across the entire iOS ecosystem.
For iPhones with a Home Button (iPhone SE, iPhone 8, and older)
If you are using an older model or the iPhone SE series, the process involves the Touch ID sensor:
- Open the Find My app to the desired location.
- Press the Side Button (on the right) or Top Button (depending on the model) and the Home Button at the same time.
- Release both buttons quickly.
- The screen will flash white to confirm the capture.
This remains an easy way to screenshot find my iphone interfaces without navigating complex menus.
Understanding What You Can Screenshot: A Tour of the Find My App Interface
Before capturing images, it is essential to know which tab contains the data you need, as the Find My app is divided into four distinct sections: People, Devices, Items, and Me.
Navigating the interface correctly ensures you capture the right information. Here is a breakdown of what to look for in each tab.
The “People” Tab: Screenshotting a Friend’s Shared Location
This tab displays the real-time location of friends and family who have shared their location with you.
- What to capture: The map showing their avatar, the distance from you, and the timestamp (e.g., “Now” or “5 min ago”).
- Why it matters: Useful for ensuring a family member has arrived safely or for coordinating meetups.
- Visual Cue: Look for the distinct apple find my iphone icon on your home screen to launch the app, then select the “People” tab on the bottom left.
When you screenshot find my friends iphone data, ensure you are respecting their privacy. This view often updates live, so capturing the timestamp is critical for context.
The “Devices” Tab: Capturing Your Apple Device’s Status and Map Location
This is the most critical section for lost or stolen hardware. It lists all Apple devices linked to your iCloud account.
- What to capture: The map pin of your missing device, the battery level indicator, and the address displayed in the information card.
- Expert Insight: If you are filing a police report or an insurance claim, a find my iphone app screenshot of this specific tab is often required as proof of the device’s last known location.
This tab allows you to see the “Mark As Lost” status. Capturing this confirms you have taken steps to secure the device.
The “Items” Tab: How to Screenshot Find My AirTag or Other Accessories
The “Items” tab tracks AirTags and third-party accessories compatible with the Find My network.
- What to capture: The precise location of your keys, wallet, or luggage.
- Detail: If you are using “Precision Finding,” take a screenshot of the arrow and distance interface.
Many users ask how to screenshot find my airtag specifically when luggage goes missing at an airport. Capturing the map view here provides evidence to airline staff. To identify the correct accessory, familiarize yourself with the various find my iphone icons displayed next to each item name.
The “Me” Tab: Saving Your Location Sharing Settings
The “Me” tab controls your personal privacy settings, including whether you are sharing your location and which device is acting as your primary location source.
- What to capture: Evidence that “Share My Location” is toggled on or off.
- Visual Variations: Depending on your system settings, you might see the standard colored icons or, if you have accessibility filters on, you might see a black and white find my icon iphone.
Taking a snapshot here is useful for troubleshooting why friends cannot see you.
5 Versatile Ways to Screenshot Find My App for Any Situation
Beyond the physical buttons, the iPhone offers four other methods to capture your screen, providing options for users with accessibility needs or broken buttons.
At FindMyiPhone.onl, we recommend knowing at least two of these methods. In a high-stress situation where buttons might be jammed or hard to reach, having an alternative is a lifesaver.
Method 1: The Classic Button Press (The Universal Method)
This is the standard combination of Power and Volume/Home buttons discussed earlier, offering the most immediate way to save an image.
We reiterate this because it is the foundational method. Whether you need to document a stalker alert or save a parking spot, the apple find my app screenshot iphone button combo is the gold standard for speed.
Method 2: AssistiveTouch (The One-Tap Screenshot Solution)
AssistiveTouch creates a virtual button on your screen that can be programmed to take a screenshot with a single tap, ideal for one-handed use.
This is one of the best ways to screenshot find my app if you have difficulty pressing physical buttons simultaneously.
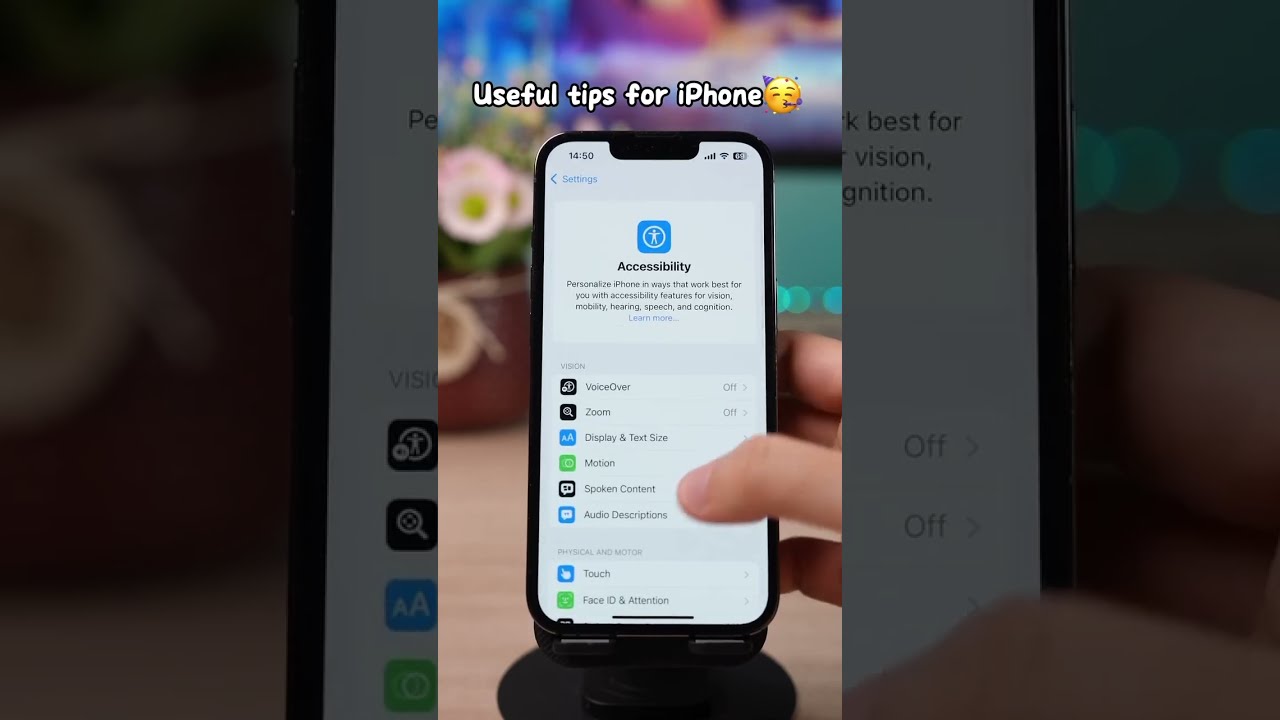
- Go to Settings > Accessibility > Touch > AssistiveTouch.
- Toggle AssistiveTouch to ON. A floating white circle will appear.
- Tap Customize Top Level Menu.
- Tap an icon to change it, or add a new one, and select Screenshot.
- Now, inside the Find My app, simply tap the floating button and select Screenshot.
Method 3: Back Tap (The Quickest, Most Discreet Capture)
Back Tap allows you to take a screenshot by double or triple-tapping the back of your iPhone, making it the most discreet way to capture a location.
This feature requires an iPhone 8 or later running iOS 14+.
- Navigate to Settings > Accessibility > Touch > Back Tap.
- Choose Double Tap or Triple Tap.
- Scroll down and select Screenshot.
- Open Find My and tap the back of your phone to instantly take a screenshot of find my location.
Method 4: Ask Siri (The Hands-Free Screenshot Command)
You can use voice commands to trigger a screenshot, which is perfect if your hands are full or you are driving.
If you are wondering how to take a screenshot on find my app without touching the screen:
- Say, “Hey Siri, take a screenshot.”
- Siri will immediately capture the current screen and save it to your Photos.
- This is particularly useful if you are looking at the map while driving and need to save the route safely.
Method 5: Screen Recording (For Capturing Live Location Updates)
Screen recording captures a video of the map movement, which is superior to a static image when tracking a moving device or person.
Sometimes a static image isn’t enough. If an AirTag is moving on a luggage carousel, a video is better.
- Go to Settings > Control Center and add Screen Recording.
- Swipe down from the top-right corner (Control Center).
- Tap the Record button (circle icon).
- Open Find My and let it record the movement.
- Stop the recording to save the video.
Note: In some display modes, the red recording indicator might clash with the map. If you are troubleshooting display issues or creating a tutorial, you might notice the find my iphone app icon black and white style in your library if you have filters enabled during recording.
Expert Tips and Important Considerations

To maximize the utility of your screenshots, you must consider image clarity, privacy ethics, and map details.
Taking the screenshot is step one. Ensuring it is useful and ethical is step two.
[Practical Tip] Editing and Annotating Your Find My Screenshot
After taking a screenshot, tap the thumbnail to enter “Markup” mode. Use the pen tool to circle the specific location or write down the time.
- Why: Maps can be cluttered. Circling the specific house or street helps law enforcement focus immediately.
- Style: If you prefer a minimalist look or are documenting for a technical guide, you might encounter a black find my icon iphone aesthetic in some third-party icon packs, but standard editing tools work on all versions.
[Risk Warning] Privacy & Ethics: Think Before You Share a Location Screenshot
Can you screenshot find my app without the other person knowing? Yes. Apple does not notify users when you screenshot their location in Find My.
However, with great power comes responsibility.
- Do not share screenshots of friends’ locations on social media.
- Do not use location tracking to harass or stalk.
- Privacy Settings: Always review your own sharing settings. Taking a screenshot find my location iphone image of your own “Me” tab is a good way to audit who can see you.
[Expert Note] Why Satellite View Can Be More Useful for a Find My iPhone Map Screenshot
The default map view is standard “Map” (schematic). However, switching to “Satellite” or “Hybrid” view offers real-world context.
- The Benefit: It shows if the device is in a park, a building, or a wooded area.
- How to switch: Tap the “i” (info) icon in the map corner and select “Satellite”.
- Result: Your find my iphone map screenshot now includes landmarks, which is far more actionable for recovery teams. To fully understand the map interface, it is helpful to learn what do the symbols mean on find my iphone map.
Quick Reference: All 5 Screenshot Methods at a Glance
| Method | Speed | Difficulty | Best Use Case |
|---|---|---|---|
| Physical Buttons | Very Fast | Easy | General use, quick capture. |
| AssistiveTouch | Fast | Medium (Setup) | Broken buttons, accessibility. |
| Back Tap | Instant | Medium (Setup) | Discreet capture, one-handed. |
| Siri | Slow | Easy | Hands-free, driving. |
| Screen Record | Slow | Medium | Tracking moving targets. |
For a deeper understanding of the icons you see in these screenshots, check our guide on find my iphone symbols meaning.
Troubleshooting Common Screenshot Issues on iPhone
Sometimes, screenshots fail or don’t look right. Here are common culprits:
- Storage Full: If your iPhone storage is full, the screenshot won’t save.
- Glitchy Map: If the map isn’t loading, check your data connection.
- Confusing Symbols:
- Blue Circle: This represents the accuracy of your location. A large circle means low accuracy. If you are unsure, read about what does the blue circle mean on find my iphone.
- Green Circle: This usually indicates a live, active device. See our guide on what does the green circle mean on find my iphone for details.
- Yellow Star: This icon appears next to “Favorites” in your list. Learn more at what does the yellow star mean on find my iphone.
Conclusion
Capturing a screenshot in the Find My app is a straightforward yet powerful tool. Whether you are using simple button combinations, Siri, or advanced features like Back Tap, you now have multiple ways to screenshot find my app to save and share crucial location information for your devices, items, and friends.
This simple skill adds another layer of security and convenience to the Apple ecosystem, giving you peace of mind when you need it most. Remember, a well-timed screenshot can be the key evidence needed to recover a lost item.
Now that you’ve mastered screenshotting, explore our complete guide on how to use the “Mark As Lost” feature to fully protect your device’s data.
Note: The information in this article is for reference only. For the best advice, please contact us directly for a specific consultation based on your actual needs.

About This Guide
Published by: FindMyiPhone.onl Editorial Team
Last Updated: January 16, 2026
Tested On: iPhone 15 Pro (iOS 17.5.1), iPhone 13 (iOS 17.4)
This tutorial was created through hands-on testing on real devices. All screenshots are from our testing lab. We update guides within 48 hours of iOS releases.
Questions? Contact our team | Meet the team Editorial Team
![5 Easy Ways to Screenshot Find My App on Your iPhone [Apple Guide]](https://findmyiphone.onl/wp-content/uploads/2026/01/does-find-my-iphone-have-crash-detection-800x450.jpeg)
![5 Easy Ways to Screenshot Find My App on Your iPhone [Apple Guide]](https://findmyiphone.onl/wp-content/uploads/2026/01/does-find-my-iphone-drain-battery-800x450.jpeg)
![5 Easy Ways to Screenshot Find My App on Your iPhone [Apple Guide]](https://findmyiphone.onl/wp-content/uploads/2026/01/does-find-my-iphone-work-on-do-not-disturb-800x450.jpeg)